Hello Spring Boot!_sts
2022. 2. 17. 19:05ㆍksmart_Framework/spring
728x90
스프링부트에서 Hello Spring Boot 출력하기


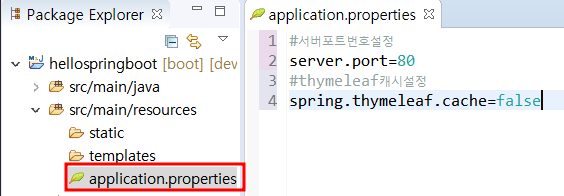
1. 포트번호, thymelelaf 쿠키 설정
2. API 생성하기
해당 클래스는 웹 프로젝트 실행 시, REST API를 통해 넘어오는 메서드들을 조작하는 컨트롤러의 역할을 한다.
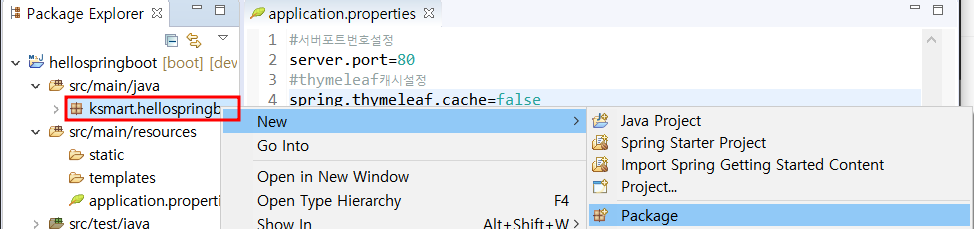
src/main/java 안 패키지를 잡고 새 패키지를 만든다.
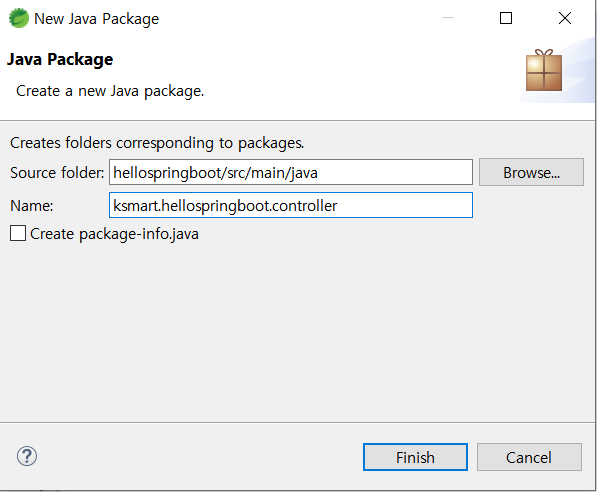
| 패키지명 | ksmart.springboot2.controller |
| 클래스명 | MainController |
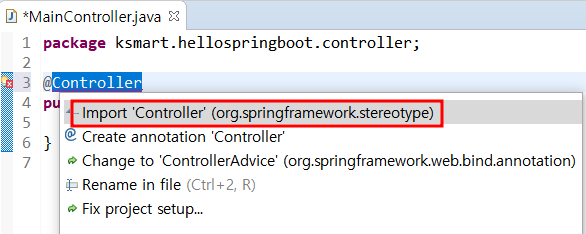
Controller 어노테이션은 해당 클래스가 Controller로써 동작할것임을 명시해주는 용도로
해당 어노테이션이 붙여진 클래스는 자동으로 Controller로 등록된다.

클래스 위에 적어줌으로써 하위 메서드들의 경로를 단축시켜주는것처럼 작동하지는 않는다.
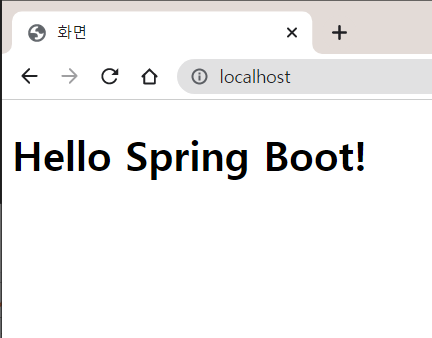
API 요청 할 때 "http://localhost"라는 주소로 시작하게 된다.

서버에 요청한 "http://localhost" 주소로 요청을 보냈을 때 서버는 주소"http://localhost/main"을 반환해준다.
package ksmart.hellospringboot.controller;
import org.springframework.stereotype.Controller;
import org.springframework.web.bind.annotation.GetMapping;
@Controller
public class MainController {
@GetMapping("/")
public String main() {
return "main";
}
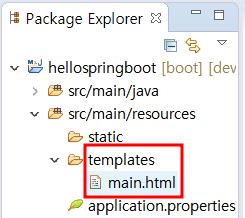
}3. localhost에 띄울 화면 만들기
<!DOCTYPE html>
<html>
<head>
<meta charset="UTF-8">
<title>화면</title>
</head>
<body>
	<h1>Hello Spring Boot!</h1>
</body>
</html>
728x90
'ksmart_Framework > spring' 카테고리의 다른 글
| springboot 백업_sts (0) | 2022.02.20 |
|---|---|
| @Service @Autowired 어노테이션, ModelAndView_sts (0) | 2022.02.20 |
| thymeleaf 와 Model 객체 사용법_sts (0) | 2022.02.17 |
| 기본문법_sts (0) | 2022.02.17 |
| 스프링부트 개발환경 구축_sts (0) | 2022.02.08 |